Setting up a Python virtual environment used to mean remembering which of three tools to reach for: python -m venv to create it, pip to fill it, and virtualenv when the built-in one wasn't enough. uv collapses all of that into a single binary.
It's written in Rust by Astral, it doesn't need a system Python to run, and it's fast enough that the create-and-install step stops being something you wait on.
By the end of this you'll have an isolated environment with packages installed, and you'll understand why the workflow is a little different from the venv muscle memory you might already have.
Install uv
Pick whichever line matches your machine. The standalone installer is the one Astral recommends because it manages updates for you.
| Platform / method | Command |
|---|---|
| macOS / Linux | `curl -LsSf https://astral.sh/uv/install.sh |
| Windows (PowerShell) | `powershell -ExecutionPolicy ByPass -c "irm https://astral.sh/uv/install.ps1 |
| pip | pip install uv |
| pipx | pipx install uv |
| Homebrew | brew install uv |
Confirm it's on your PATH:
uv --version
uv ships as a standalone Rust binary, so it runs without a system Python and supports Python 3.8 through 3.15. It releases often — as of June 2026 the latest is 0.11.24 — so the exact number you see will drift. If you used the standalone installer, update with:
uv self update
If you installed it through pip instead, uv self update won't apply; use pip install --upgrade uv. One thing to know about the standalone update: it re-runs the installer, which can touch your shell profile.
Create the environment
uv venv
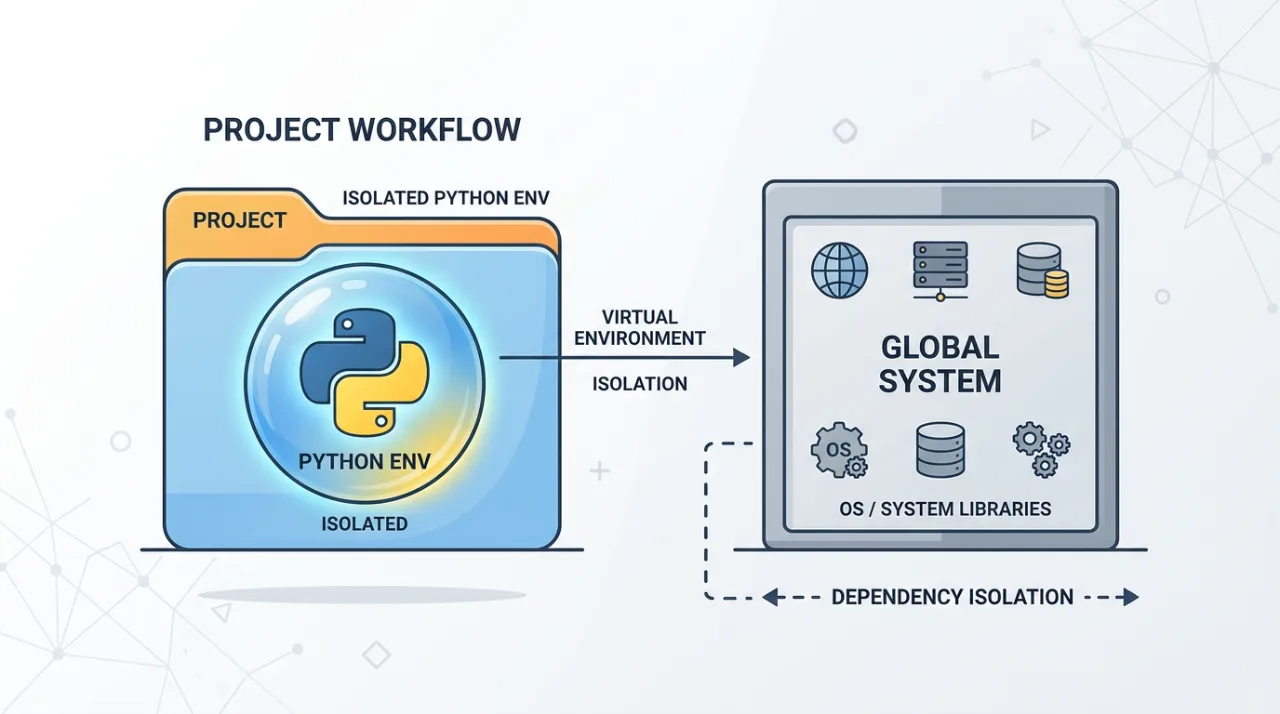
That creates a virtual environment at .venv in the current directory. No flags, no naming decisions — .venv is the convention uv expects, and sticking to it unlocks the auto-discovery behavior described below.
If you want a different location or name:
uv venv my-env
To pin a specific interpreter, pass --python:
uv venv --python 3.11
uv will search your system for a matching interpreter, and if it can't find one it can download and manage that Python version itself — you don't have to install it separately first.
Activate it (or skip activation)
The classic step is to activate:
# macOS / Linux
source .venv/bin/activate

# Windows (PowerShell)
.venv\Scripts\activate
Here's the part that trips people up coming from plain venv: with uv, activation is optional. When the environment lives at the default .venv, uv finds and uses it automatically on later commands. So uv pip install requests targets .venv whether or not you ran source first.
You only need to activate when you want the environment's python and console scripts on your shell's PATH directly — for example, to type python and pytest without prefixing them with uv run or pointing at .venv/bin. For installs and most day-to-day work driven through uv, you can leave activation out entirely.
Install packages
A fresh uv venv is empty. Creating the environment and filling it are two separate steps — uv venv never installs anything on its own. Add packages with the pip-compatible interface:
uv pip install requests
The uv pip commands mirror pip's CLI on purpose, so most of what you already know carries over. Installing from a requirements file works the way you'd expect:
uv pip install -r requirements.txt
All of this targets the discovered .venv without requiring activation first.
Speed is the headline reason people switch: uv is widely benchmarked at roughly 10–100× faster than pip for installs and dependency resolution. Your mileage depends on the machine, the cache state, and the size of the dependency tree, so treat that as a benchmark range rather than a promise.
Verify it works
List what's installed:
uv pip list
Then confirm an import actually resolves inside the environment:
uv run python -c "import requests; print(requests.__version__)"
If you activated the environment and want to step back out, the usual command still applies:
deactivate
When to graduate to the project workflow
Everything above is uv's low-level, pip-compatible path — the closest analog to manual venv + pip, and the right fit when you just need an environment with some packages in it.
Once you're managing a whole project, there's a higher-level workflow worth knowing about:
uv init        # scaffold pyproject.toml
uv add requests   # add a dependency and update the lockfile
uv run app.py     # run inside the project's managed environment
This tracks dependencies in pyproject.toml, maintains a lockfile for reproducible installs, and creates and manages the .venv for you. If you're building something you'll share or come back to, reach for this instead of hand-managing uv pip install calls. For a one-off script or a quick experiment, the uv venv path stays simpler.
Cheat sheet
uv venv                      # create .venv in the current directory
uv venv --python 3.11        # create with a specific Python version
source .venv/bin/activate    # activate (optional; macOS/Linux)
uv pip install requests      # install a package into .venv
uv pip install -r requirements.txt
uv pip list                  # see what's installed
uv self update               # update uv (standalone install)