ComfyUI is a node-based interface for running Stable Diffusion, Flux, and other diffusion models locally on your own machine. It is completely free and open source under the GPL-3.0 license, so there is nothing to buy and no trial to expire. The catch most beginners hit isn't cost — it's the install.
Pick the wrong method and you spend an evening fighting Python errors instead of generating images.
This guide leads with the path that almost never fails: the official one-click Desktop installer. If you outgrow it later, the Portable and Manual methods are here too.
Which install method should you pick?
All three run the exact same backend and give identical generation speed on the same hardware. The only difference is how much setup you do yourself.
| Method | Best for | Platforms | Updates |
|---|---|---|---|
| Desktop | Beginners (recommended) | Windows, macOS (Apple Silicon) | One-click, automatic |
| Portable | Power users, no installer | Windows | Manual |
| Manual / CLI | Developers, bleeding edge | Windows, macOS, Linux | git pull |
The Desktop build is compiled from stable releases, so it can trail the newest features by a few days. That is the right trade for a first install. Download everything from the official page: comfy.org/download.
Check your hardware first
ComfyUI officially supports Windows, Linux, and macOS — including Apple Silicon (M1 through M4). On Mac you need macOS 12.3 (Monterey) or later for Metal (MPS) GPU acceleration, and the Desktop app requires an Apple Silicon chip; Intel Macs are not supported.
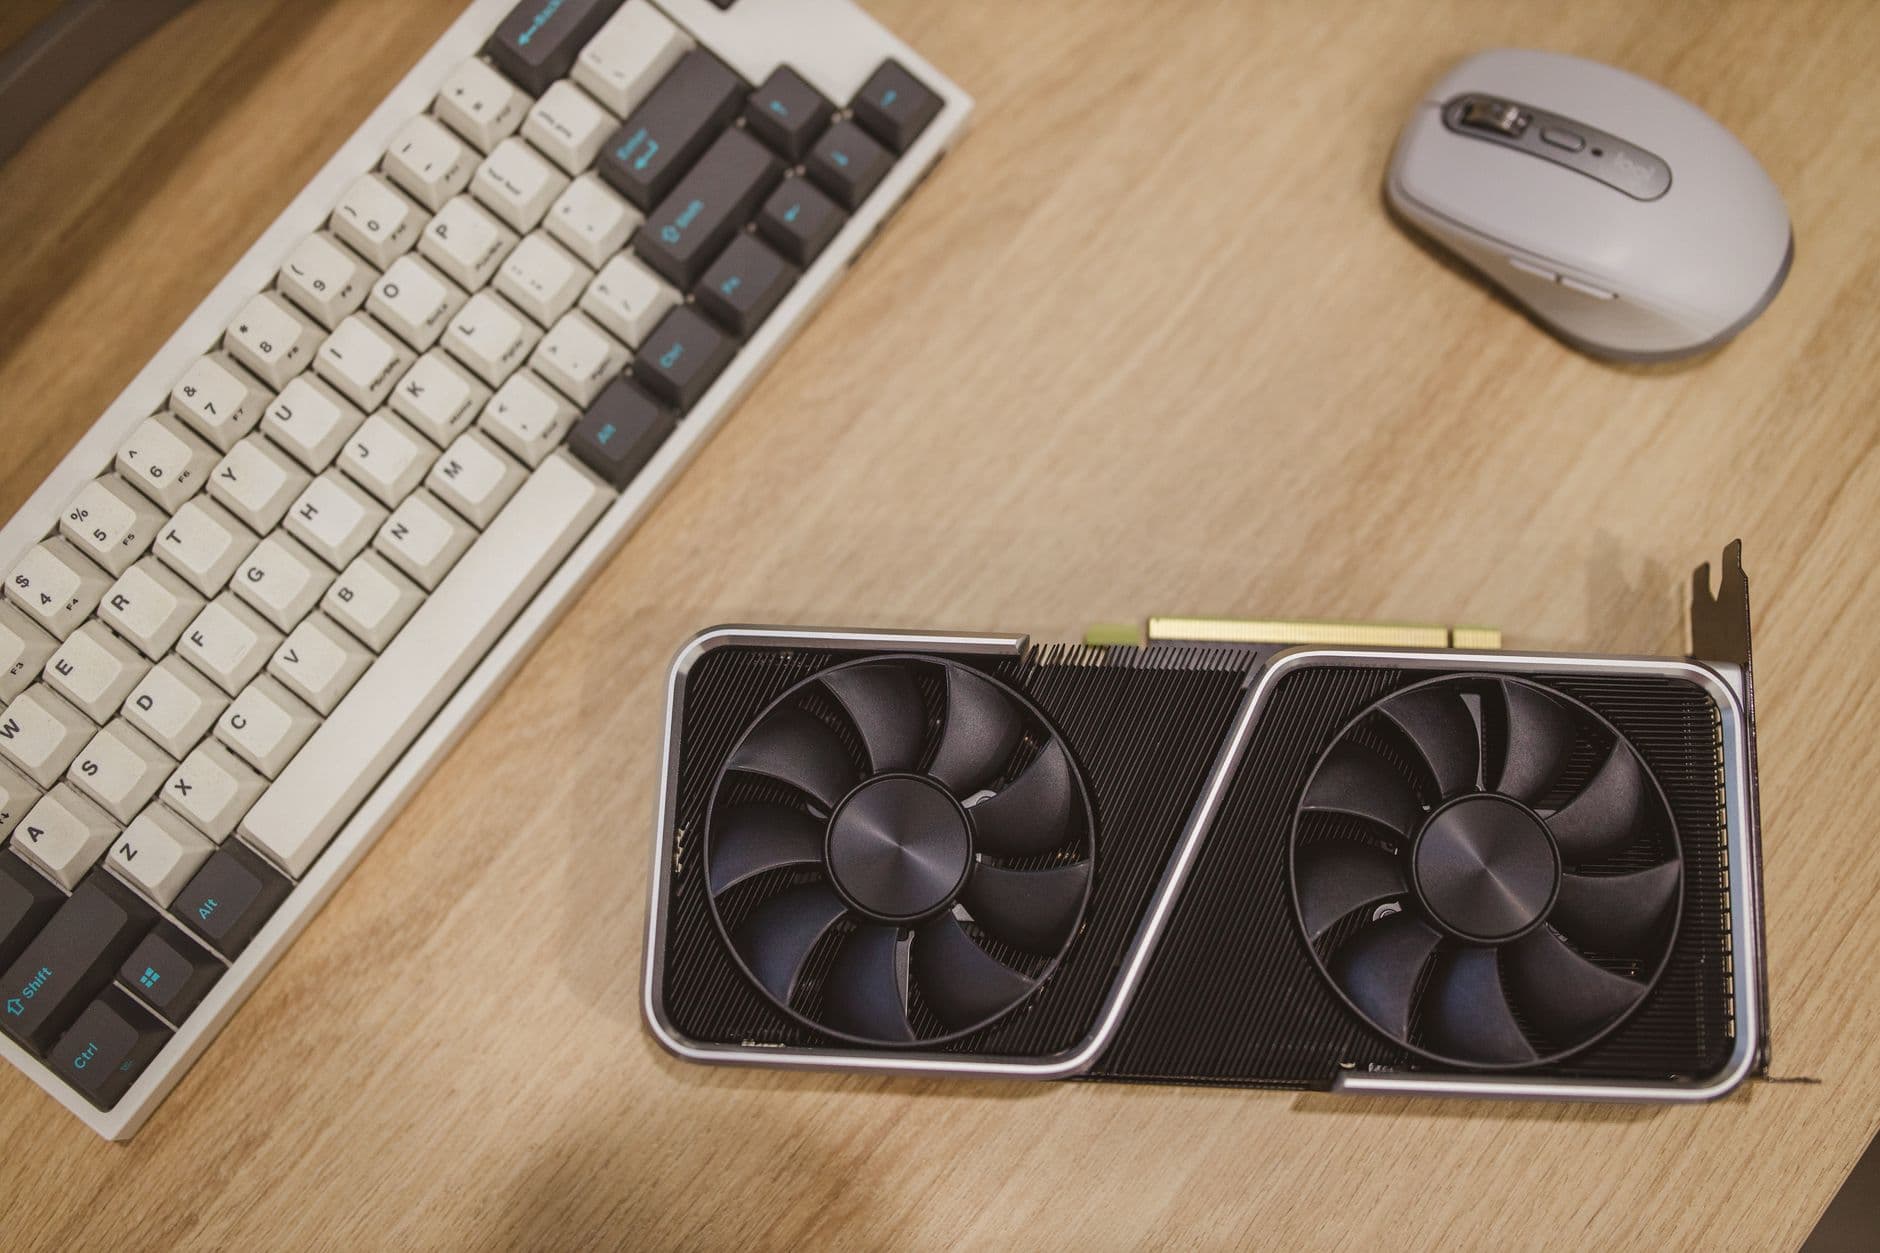
The official docs deliberately don't publish hard minimum specs, because ComfyUI's memory management lets it run on surprisingly weak cards with the right flags. As a practical floor, though, here's what third-party guides consistently recommend:
| Component | Practical floor | Comfortable |
|---|---|---|
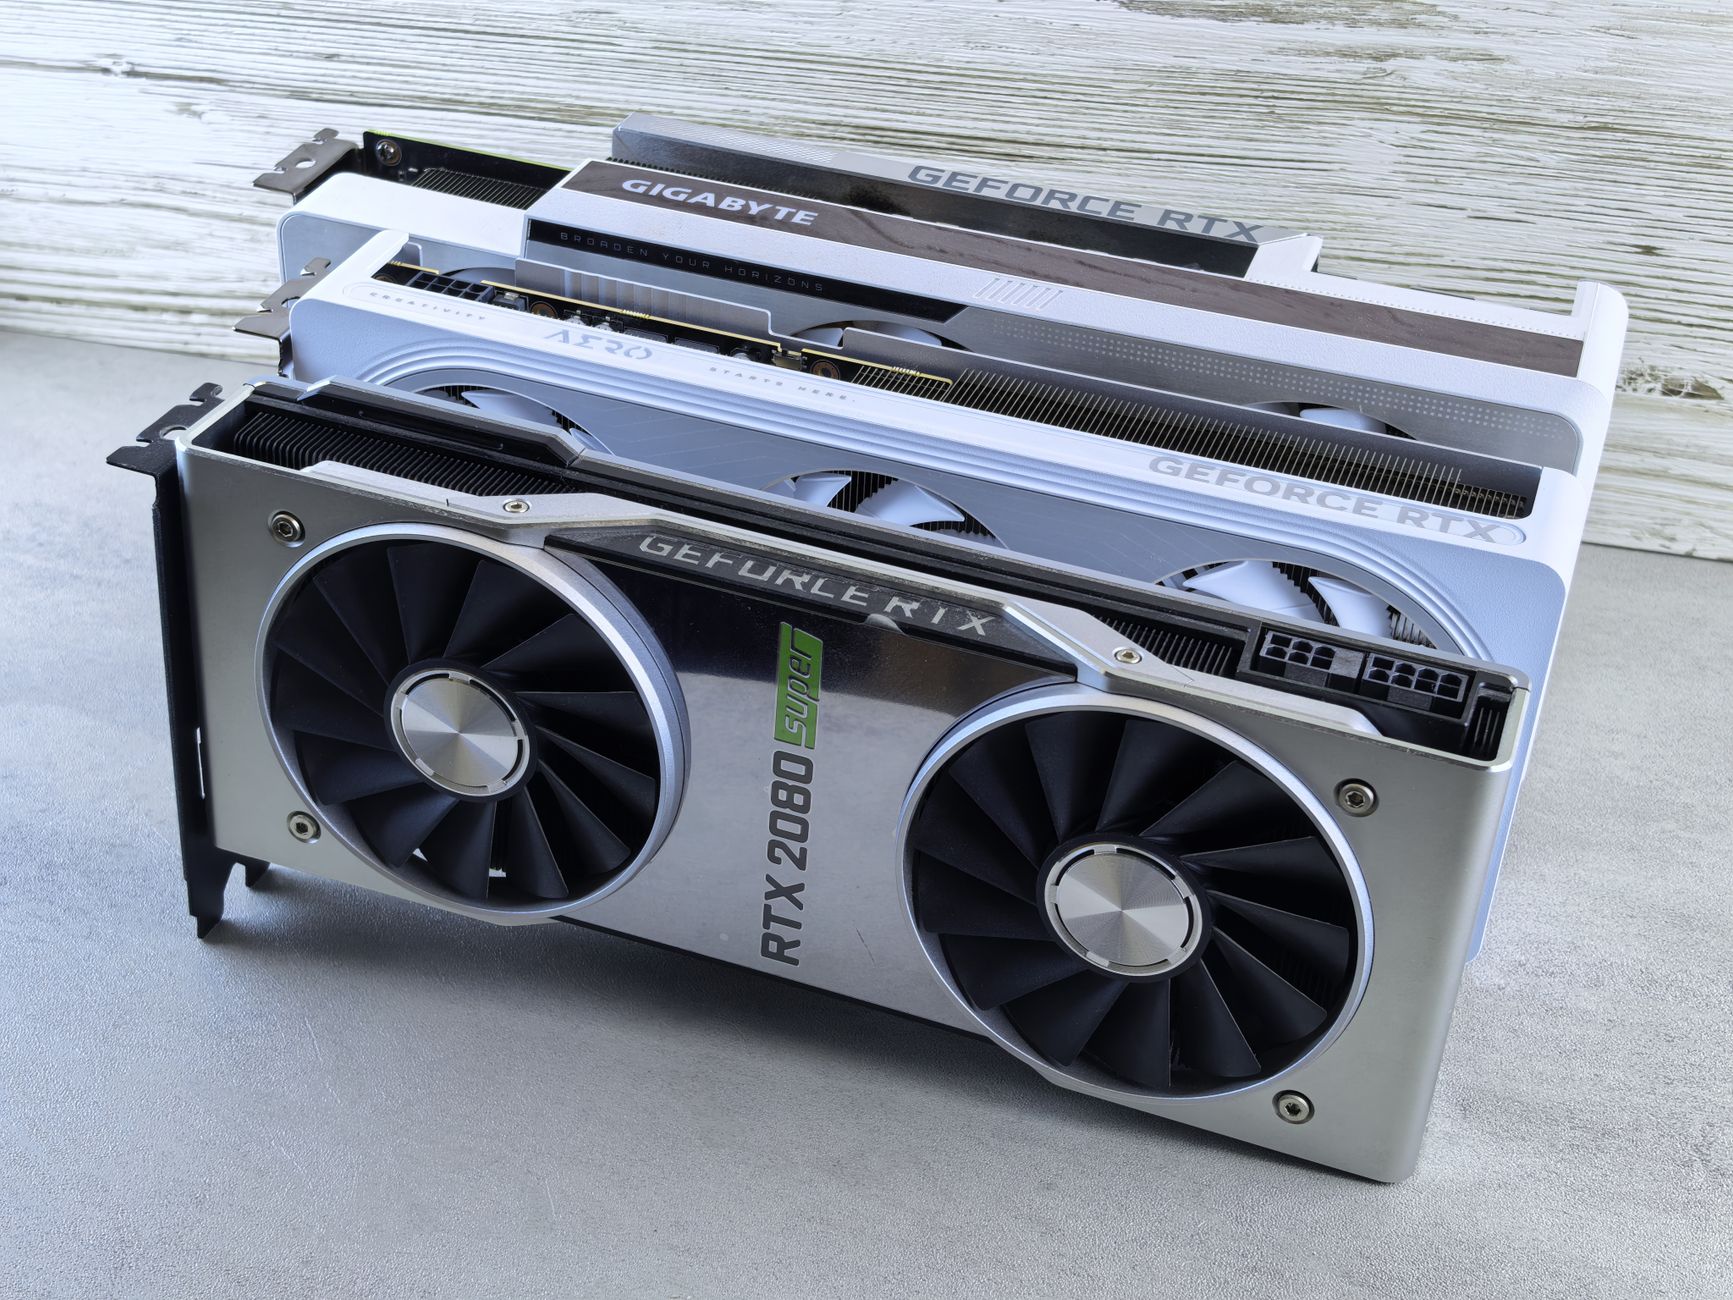
| GPU | NVIDIA, 4 GB VRAM | 8 GB+ VRAM |
| RAM | 16 GB | 32 GB |
| Free disk | 15 GB | 50–100 GB (once you add models) |
NVIDIA cards are the smoothest road. AMD works on Linux through ROCm (with experimental RDNA 3/3.5/4 support on Windows), Intel Arc runs via PyTorch xpu builds, and if you have no usable GPU at all you can fall back to CPU with --cpu — slow, but it works.
Method 1 — ComfyUI Desktop (recommended)
This is the fastest route to a working install. The installer bundles Python and every dependency, so you never touch a terminal.
- Go to comfy.org/download and download the Desktop installer for your OS (Windows or macOS).
- Run the installer. On Windows you may get a SmartScreen warning — click More info → Run anyway.
- Choose an install location with plenty of free space. Models live here and they're large, so avoid a nearly-full system drive.
- Let it auto-configure. It sets up Python, PyTorch, and the right GPU backend for your card without any input from you.
- If you've used ComfyUI before, the first-launch wizard can import your existing models, workflows, and settings.
- Launch it. The app opens with a default workflow already loaded.
Auto-updates are built in, so you stay current without reinstalling.
Method 2 — Portable (Windows)
The Portable build is a self-contained ZIP. Everything — Python, dependencies, custom nodes, models — lives in one folder you can move or delete wholesale.
- Download the Portable ZIP from comfy.org/download.
- Extract it somewhere with space (not inside
Program Files— Windows permissions there cause headaches). - Double-click
run_nvidia_gpu.batto start on an NVIDIA card, orrun_cpu.batif you have no compatible GPU. - A console window opens and your browser loads the UI at
http://127.0.0.1:8188.
Models go in ComfyUI/models/checkpoints inside the extracted folder. To update, you download a fresh ZIP — there's no auto-updater.
Method 3 — Manual install (advanced)
Clone the repo if you want full control and same-day access to new features. You'll need Git and Python installed first. Python 3.13 is recommended and best supported; drop to 3.12 if a custom node has dependency conflicts, and avoid 3.14 for now since some nodes still break on it.
git clone https://github.com/comfyanonymous/ComfyUI
cd ComfyUI
python -m venv venv
# Windows: venv\Scripts\activate   |   macOS/Linux: source venv/bin/activate
Install PyTorch for your specific GPU before anything else — this is the step people get wrong. PyTorch 2.4+ is required.
# NVIDIA (CUDA 13.0)
pip install torch torchvision torchaudio --extra-index-url https://download.pytorch.org/whl/cu130

# AMD on Linux (ROCm 7.2)
pip install torch torchvision torchaudio --index-url https://download.pytorch.org/whl/rocm7.2

# Intel Arc
pip install torch torchvision torchaudio --index-url https://download.pytorch.org/whl/xpu
Then install the rest and launch:
pip install -r requirements.txt
python main.py
main.py starts the server and prints a local URL. Open it in a modern browser — the docs note Chrome 143+ for best performance.
First run: load a model and generate
A fresh install has no checkpoints, so the default workflow can't generate anything yet. Download a model — a Stable Diffusion or Flux checkpoint from a site like Hugging Face or Civitai — and drop the file into:
models/checkpointsfor the main modelmodels/vaefor a standalone VAE, if your model needs one
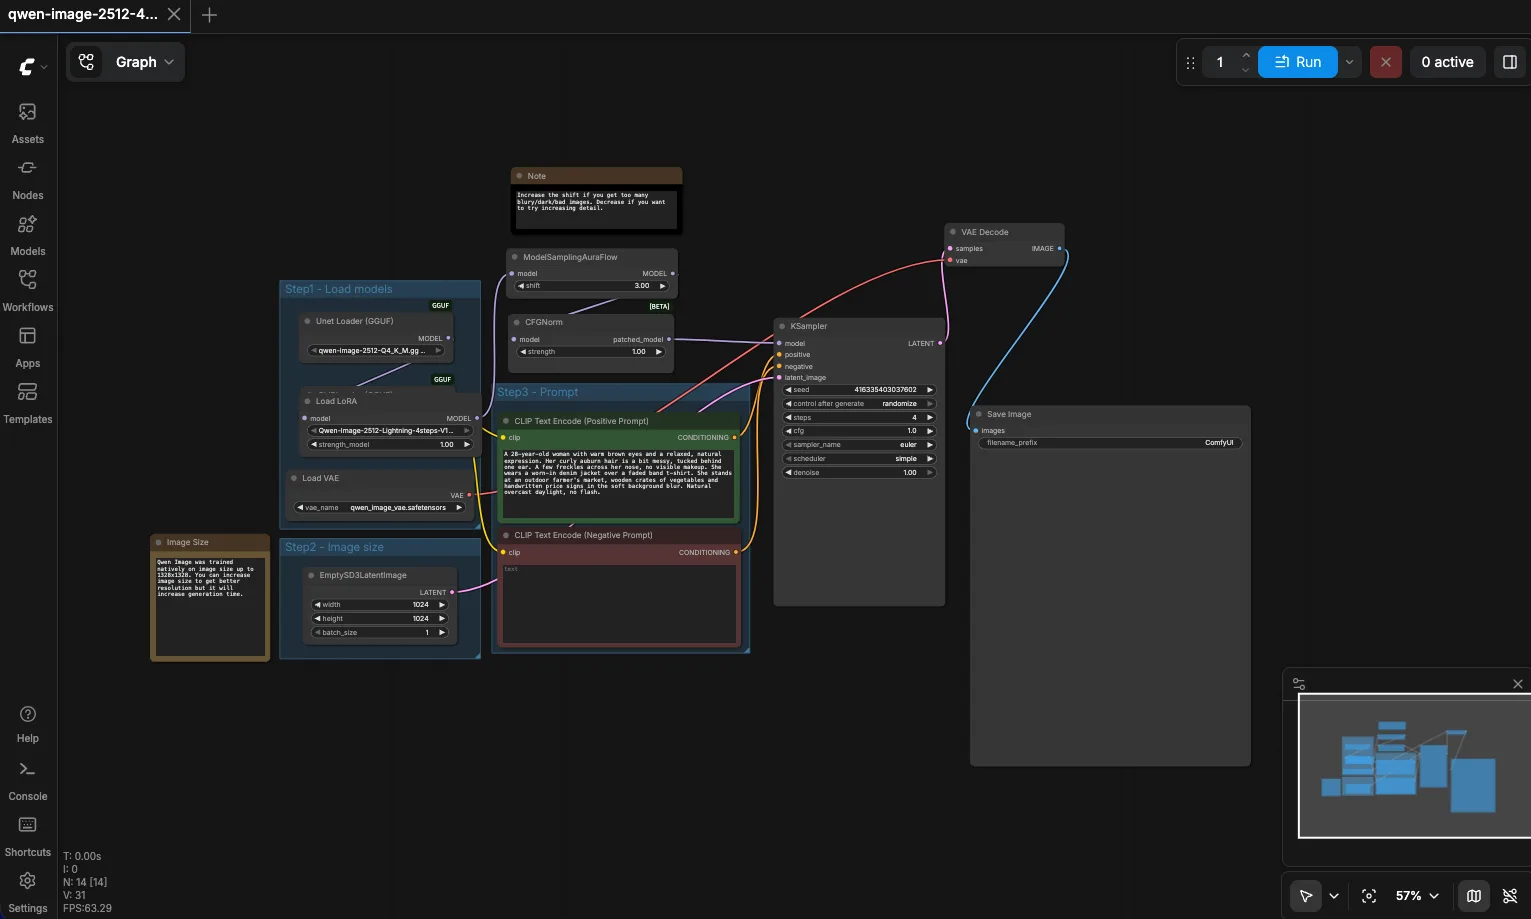
Refresh the page (or restart the app) so ComfyUI sees the new file. In the default workflow, select your checkpoint in the Load Checkpoint node, then click Queue (newer builds label it Run). The first generation takes longer while the model loads into VRAM; after that it's quick.
Troubleshooting
"Torch not compiled with CUDA enabled." You installed the CPU build of PyTorch. Uninstall it (pip uninstall torch torchvision torchaudio) and reinstall with the correct --extra-index-url for your GPU.
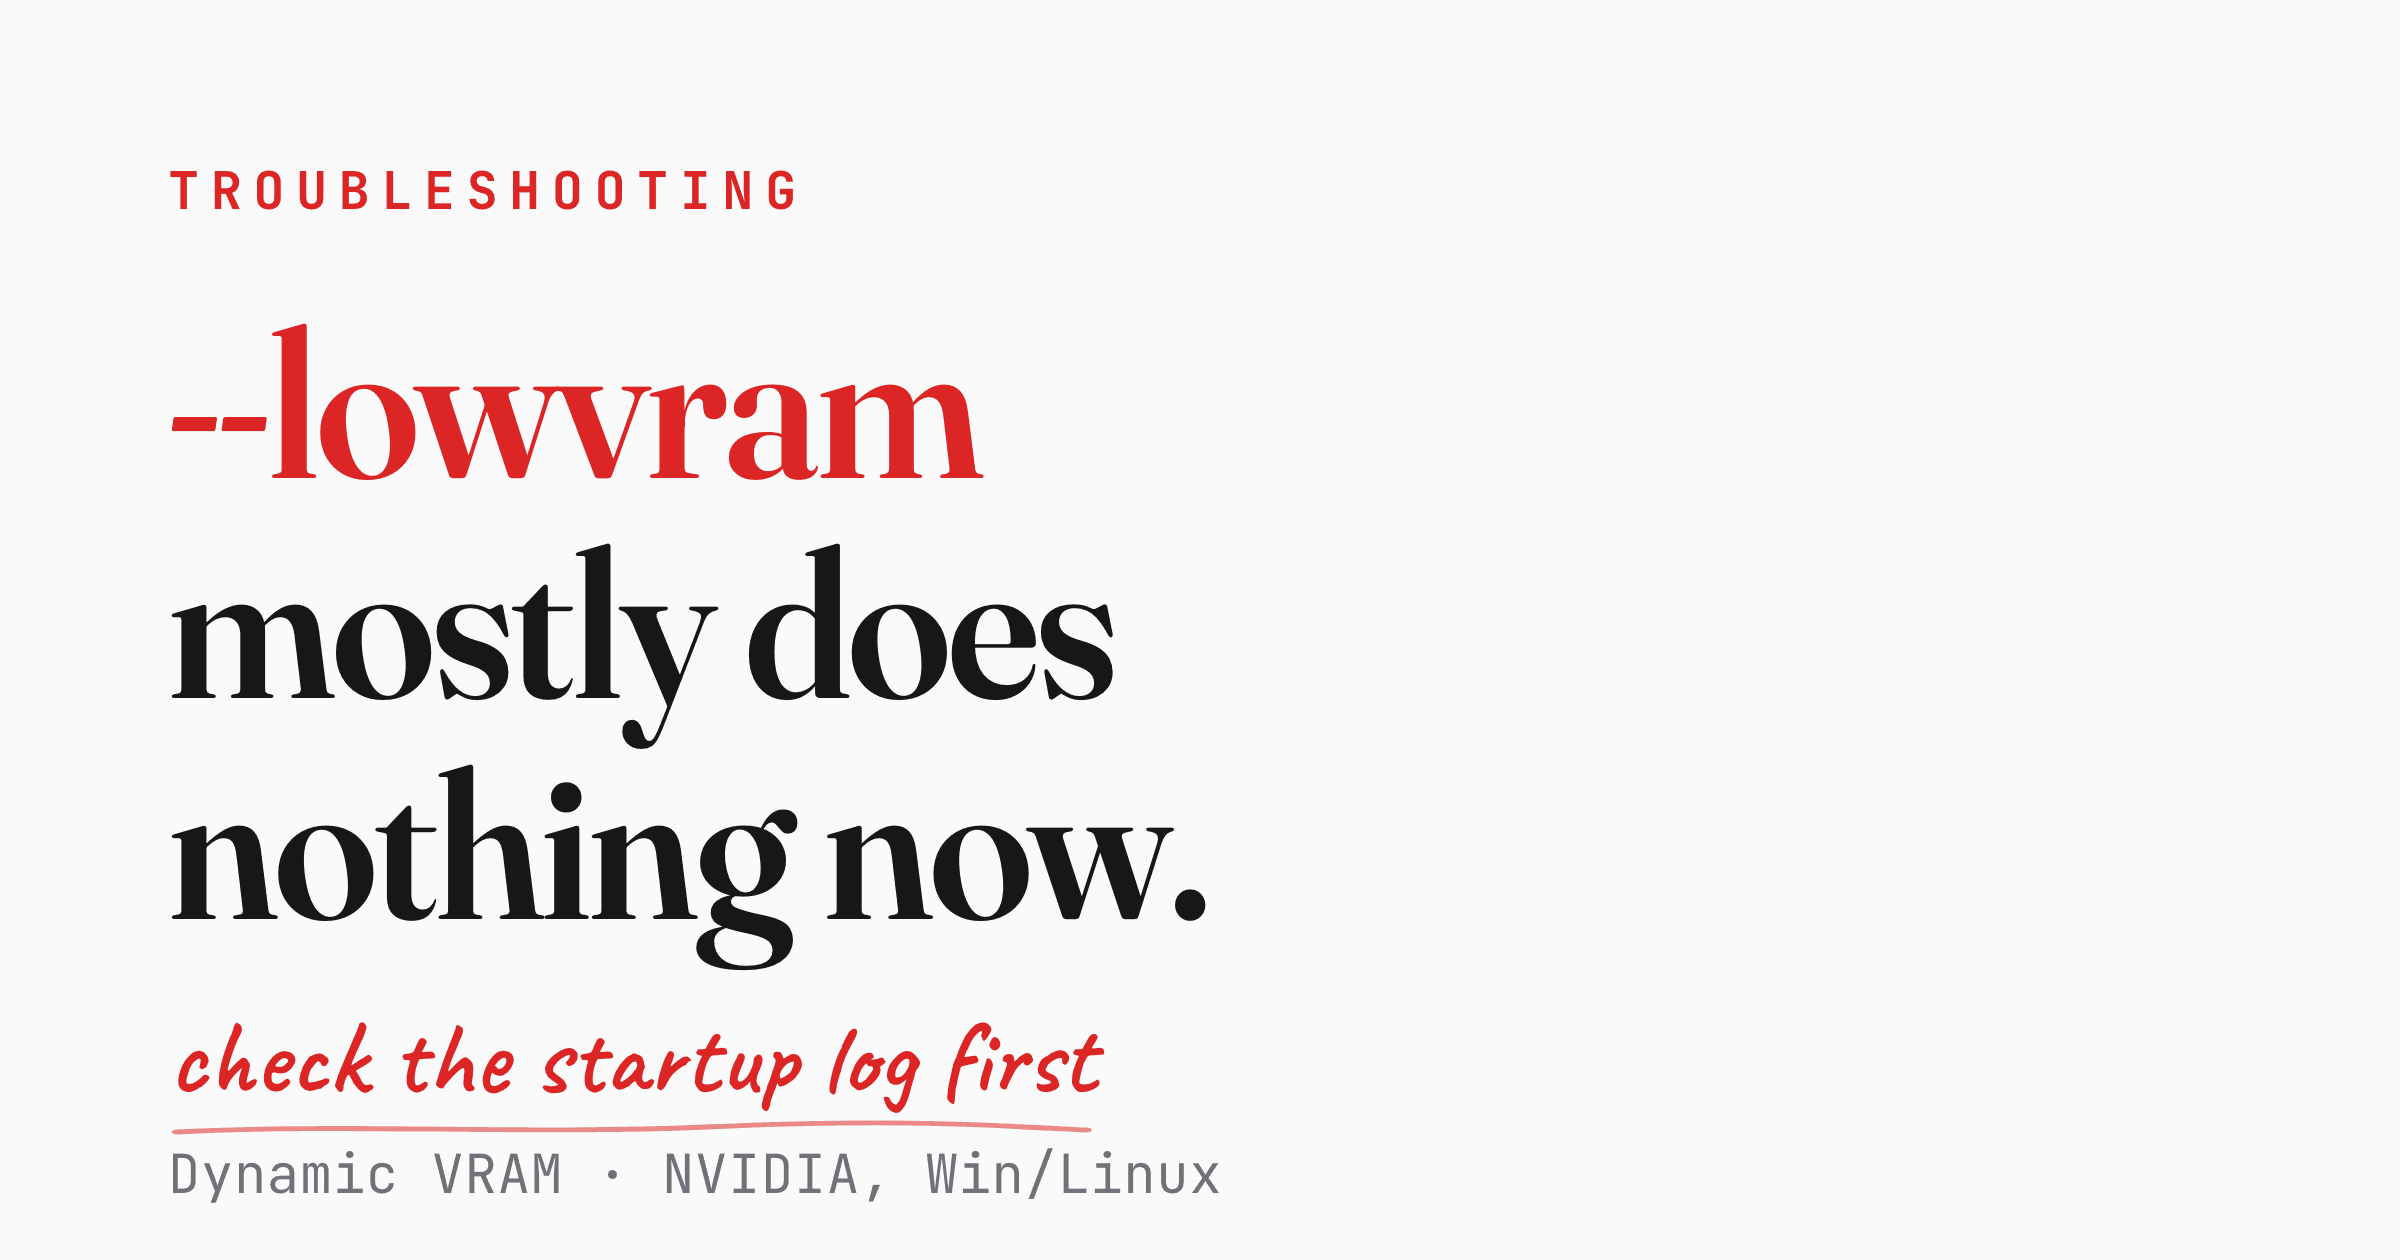
Out of memory / crashes on generation. Launch with a low-VRAM flag: python main.py --lowvram, or --cpu to skip the GPU entirely. The Desktop app exposes the same options in its settings.
A custom node won't install or breaks startup. Most of these are Python version conflicts. Reinstall on Python 3.12, which has the widest custom-node compatibility.
Nothing happens when I click Queue. Confirm a checkpoint is actually selected in the Load Checkpoint node and that the file is in models/checkpoints. An empty dropdown means ComfyUI didn't find any model.
Next steps
Once it runs, install ComfyUI Manager — it turns custom nodes and missing-model installs into one-click operations and saves you most of the manual file-shuffling above. From there, explore community workflows; the node graph that looks intimidating on day one is what makes ComfyUI worth learning.
Releases ship often (the latest at the time of writing was around v0.26.2, late June 2026), so treat any version number you see as a moving target and keep the app updated.
References
- comfy.org/download — official downloads and license
- docs.comfy.org — system requirements
- GitHub: comfyanonymous/ComfyUI — manual install
- ComfyUI Wiki — Desktop installation guide